
In this post, you will learn about Leopold Maneuvers, its purpose, and how to perform four maneuvers systematically.
What are Leopold Maneuvers?
Leopold maneuvers are a systematic four-step physical examination performed to evaluate the fetal lie, presentation, and position of the fetus in the uterus.
These obstetric maneuvers are performed after 26 weeks of gestation. It is when the fetus is matured enough that when you palpate the abdomen its outline can be easily distinguished.
According to studies, the accuracy of the Leopold maneuvers varies between 94% to 95% in a cephalic presentation when compared with ultrasonography. However, when the fetus is not in a cephalic presentation, the clinician’s ability to correctly determine the fetal position significantly decreases.
History of Leopold Maneuvers
The four classic obstetric grips known as Leopold maneuvers were first described and named after a German Gynecologist Dr. Christian Gerhard Leopold (1846–1911).
Since then it has become an essential clinical skill to assess the presentation, lie, and position of the baby within the uterus.
Purpose of Leopold Maneuver
The purpose of Leopold maneuvers are to determine:
- Fetal position (fetal position is described as fetal presentation in relation to mother’s pelvis. For example, right occiput anterior [ROA], left occiput anterior [LOA], left sacrum anterior [LSA], and more…)
- Fetal lie (fetal lie is described as where the fetus lies in relation to the mother’s back. For example, longitudinal lie, transverse lie, and oblique lie)
- Fetal presentation (first fetal part that presents into the maternal pelvis)
- Fetal attitude (fetal attitude can be determined after head is engaged)
- Fetal malposition
- Approximate fetal weight and amount of amniotic fluid
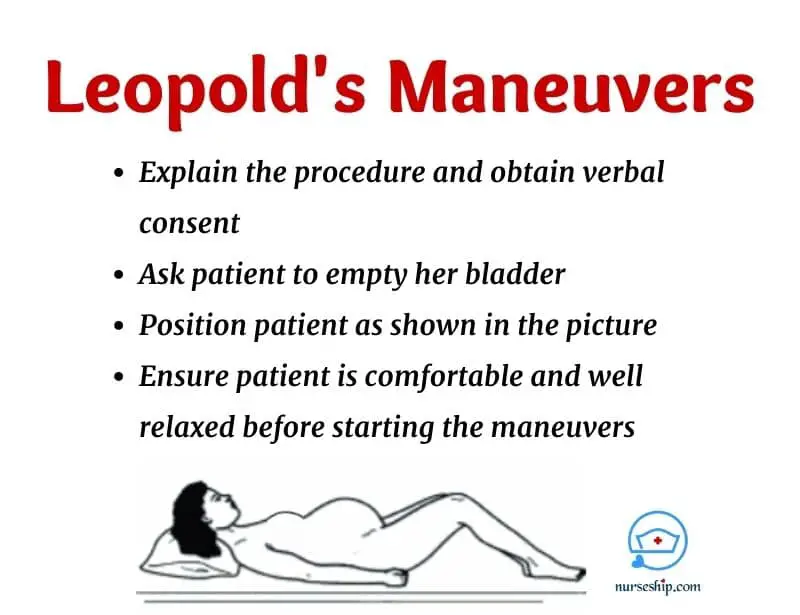
Prerequisites before the procedure
- Explain the Leopold maneuvers and their purpose to the pregnant mother
- Obtain verbal consent
- Ask the client to empty her bladder
- Position patient in supine and legs partially flexed from knees
- Ensure the patient is comfortable and relaxed
- Expose the tummy (from the xiphoid process to pubic symphsis) and cover lower part of the body with a sheet to provide privacy
- Ensure your hands are warm prior to palpation
Leopold maneuver steps
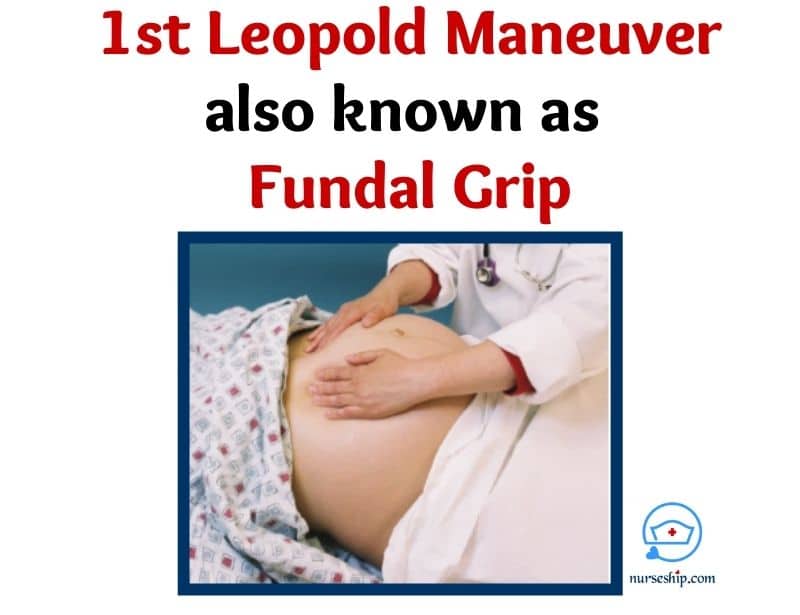
Step 1: Fundal grip
The first step of the Leopold maneuver is known as the fundal grip. Here, you palpate the uppermost part of the abdomen. This maneuver answers the question “What fetal part (i.e., head or buttocks) occupies the fundus (i.e., top of the uterus)?“
Hence, you will know the fetal lie by performing fundal grip or first Leopold maneuver. Additionally, at this step, fundal height is also measured.
Fundal height will give you information about gestational age. It can be measured using a measuring tape – McDonald’s rule or just by palpating with finger breadths.
Purpose of the first Leopold maneuver or the fundal grip is to determine fetal lie and fundal height.
How to perform the first Leopold maneuver – Fundal grip
- Stand client’s right side facing towards her face
- Warm-up both the hands
- Place both the hands over the fundal area
- Then, palpate from one hand while applying steady firm pressure with the other hand to make it easier to identify fetal parts
Findings
- If you feel broad, firm, irregular soft mass indicates fetal buttocks is in the fundus. It means presentation is cephalic and the lie is longitudinal. This is the normal findings which promotes normal vaginal delivery.
- If you feel smooth, globular mass which is ballotable [bounces between the palpating hands – beacuse head can move independly from its body] indicates fundus occupies the fetal head. It means presentation is breech – a malpresentation which must be documented and confirmed with ultrsonography for planning the safest mode of delivery for the mother and baby.
- If you feel the upper pole is empty, indicates a transverse lie.
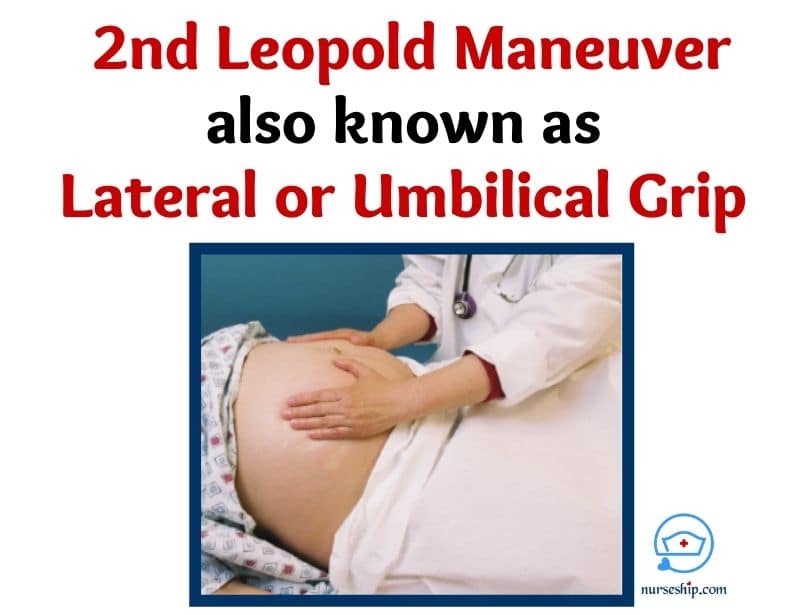
Step 2: Lateral or Umbilical grip
The second Leopold maneuver is called lateral or the umbilical grip. The second step answers “On which maternal side does the fetal back is located?” The fetal’s back is the best location to auscultate its heart sound.
Hence, the aim of this step is to locate the fetal back and limbs. Additionally, you can determine the position (i.e., ROA, LOA, etc) of the fetus at this step.
How to perform the second Leopold maneuver – Lateral or Umbilical grip
- Stand facing the client as the first maneuver
- Place both hands on either side of the abdomen between flanks and umblicus
- Then, while steadily supporting with the right hand, palpate with the left hand. Palpate using deep gentle pressure in slightly circular motion – It will helps to easily identify the fetal parts.
- Repeat the steps on the other side as well using opposite hands
Findings
- If you feel continuous smooth structure indicates its fetal back. It is the best place to monitor fetal heart rate. You may use a fetoscope, stethoscope, or doppler to monitor fetal heart rate (FHR).
- If you feel irregular multiple knoblike structures indicates its fetal limbs
- Also, you will be able identify fetal body parts from amniotic fluids and the fetal position, whether its ROA, LOA, and more
- If the lie is transverse, head or breech may be palpable from one of the sides of maternal torso.
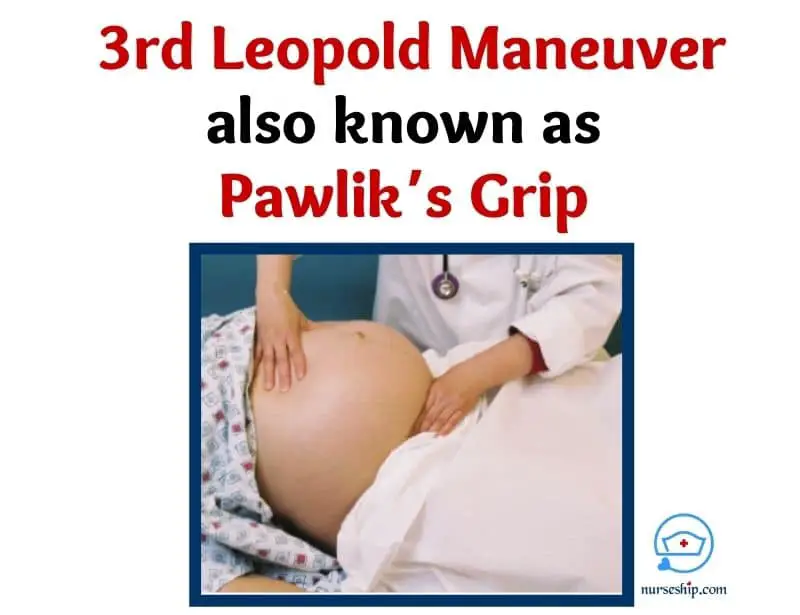
Step 3: Pawlik’s grip
The third Leopold maneuver is known as the Pawlik’s grip which answers the question “what is the presenting part?“ This step was modified by Czech Gynecologist Karel Pawlík (1849–1914). Hence, named Pawlik’s grip.
Sometimes the third Leopold maneuver is also referred as the first pelvic grip.
The aim of this maneuver is to evaluate presenting part into the pelvis and engagement.
How to perform the third Leopold maneuver – Pawlik’s grip
- Stand facing the client’s face same as the first and second maneuvers
- Wide open your right hand – thumb on one side and four fingers on the other side, grasp the lower pole of the uterus just above the symphsis pubis. Use your left hand to grasp the fundus at the same time.
- Then, try to move presenting fetal part between your thumb and four fingers.
- This maneuver usually causes some discomfort to the mother. So, be gentle and cautious during this step.
Findings
- If the lie is longitudinal and presentation is vertex, and head not engaged – you will feel the head of the fetus between your fingers. And it will be ballotable.
- If the presenting part is engaged (i.e, presenting part has already decended into the pelvic inlet), you will feel the less distinct mass.
- If the presenting part is breech, the mass will feel much softer and smaller. Also, it won’t move independently of the body.
- If the lie is transverse, like the empty fundus, the lower pole of the uterus will also be empty. Hence no fetal parts will be palpable.
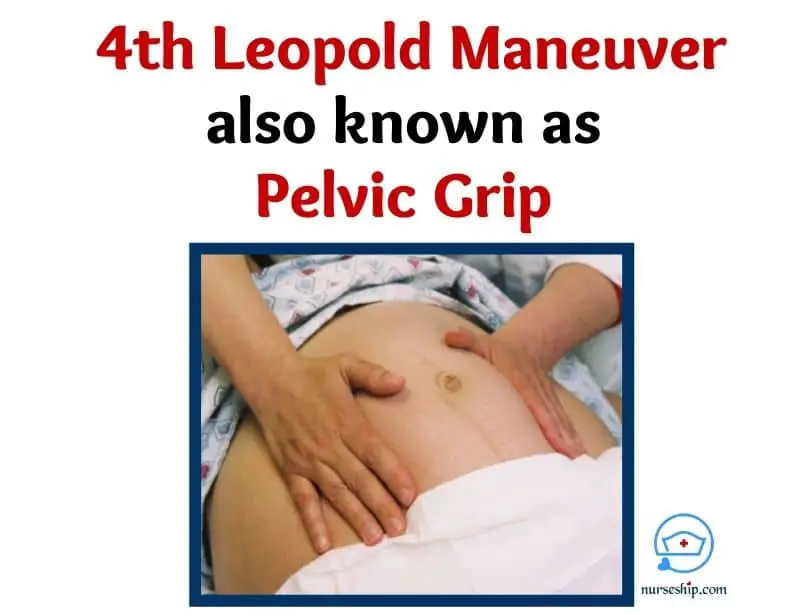
Step 4: Pelvic grip
The fourth Leopold maneuver is known as pelvic grip. This final step of the Leopold maneuver answers the question “Is the fetal head engaged in the pelvis and what is the attitude?“
This step will help you to confirm the presenting part of the fetus and its descent into the pelvis. If the presentation is vertex, you can determine the relation of the cephalic prominence to the fetal back to evaluate the fetal attitude.
Additionally, you can determine the degree of engagement. Hence, confirming the findings of the third maneuver.
How to perform the fourth Leopold maneuver – Deep pelvic grip
- In this step, stand facing towards client’s feet. This is the only maneuver performed facing towards the woman’s feet.
- Place hands below the umbilicus, parallel to inguinal, and walk fingers aroung presenting part towards the midline and symphysis pubis.
Findings
- If the fingers of both hands meet (converge) below presenting part indicates presenting part is floating (i.e., not engaged yet)
- If the fingers of both hands diverge below the presenting part indicates presenting part is now engaged.
- In vertex presentation, if cephalic prominence is felt on the opposite side of the back indicates that the fetal head is well flexed.
- If the head is deflexed or extended as in brow and face presentation – you can palpate cephalic prominence on the same side as the back, but you will feel a groove between the cephalic prominence and fetal back.
- You should be able to confirm the findings od Pawlik’s grip
Contraindication
Leopold maneuvers should not be performed during uterine contractions.
Complications
Leopold maneuvers do not have any significant complications. It may cause mild discomfort to the mother especially during the third maneuver. And some very rare cases, it may trigger uterine contractions.
Conclusion
Leopold maneuvers are a systematic method of palpating a pregnant woman’s abdomen to assess fetal position in utero. It helps determine presentation, lie, position, and attitude.
Leopold maneuvers are an easy and cost-effective method of assessing pregnant women. However, the accuracy of the findings is heavily dependent on the skills and competency of the examiner.
Reference
Berghella, V. (2007). Obstetric Evidence Based Guidelines. Taylor & Francis.
Evans, A. (2007). Manual of obstetrics (7th ed.). Lippincott Williams & Wilkins.
Kennedy, B., Ruth, D., & Martin, E. (2009). Intrapartum management modules (4th ed.). Wolters Kluwer Health/Lippincott Williams & Wilkins.
Ricci, S., & Kyle, T. (2009). Maternity and Pediatric Nursing. Wolters Kluwer Health/Lippincott Williams & Wilkins.
Saxena, R. (2014). Bedside Obstetrics & Gynecology. Jaypee Brothers Medical Publisher (P) Ltd.
Simkin, P., & Hanson, L. (2017). Labor Progress Handbook (4th ed.). Wiley Blackwell.
Weber, J., Kelley, J., Sprengel, A., & Weber, J. (2010). Lab Manual to Accompany Health Assessment in Nursing (7th ed.). Lippincott Williams & Wilkins.Weber, J. R., & Kelley, J. H. (2017). Health Assessment in Nursing (6th ed.). Lippincott Williams and Wilkins.